
Last updated November 15, 2026
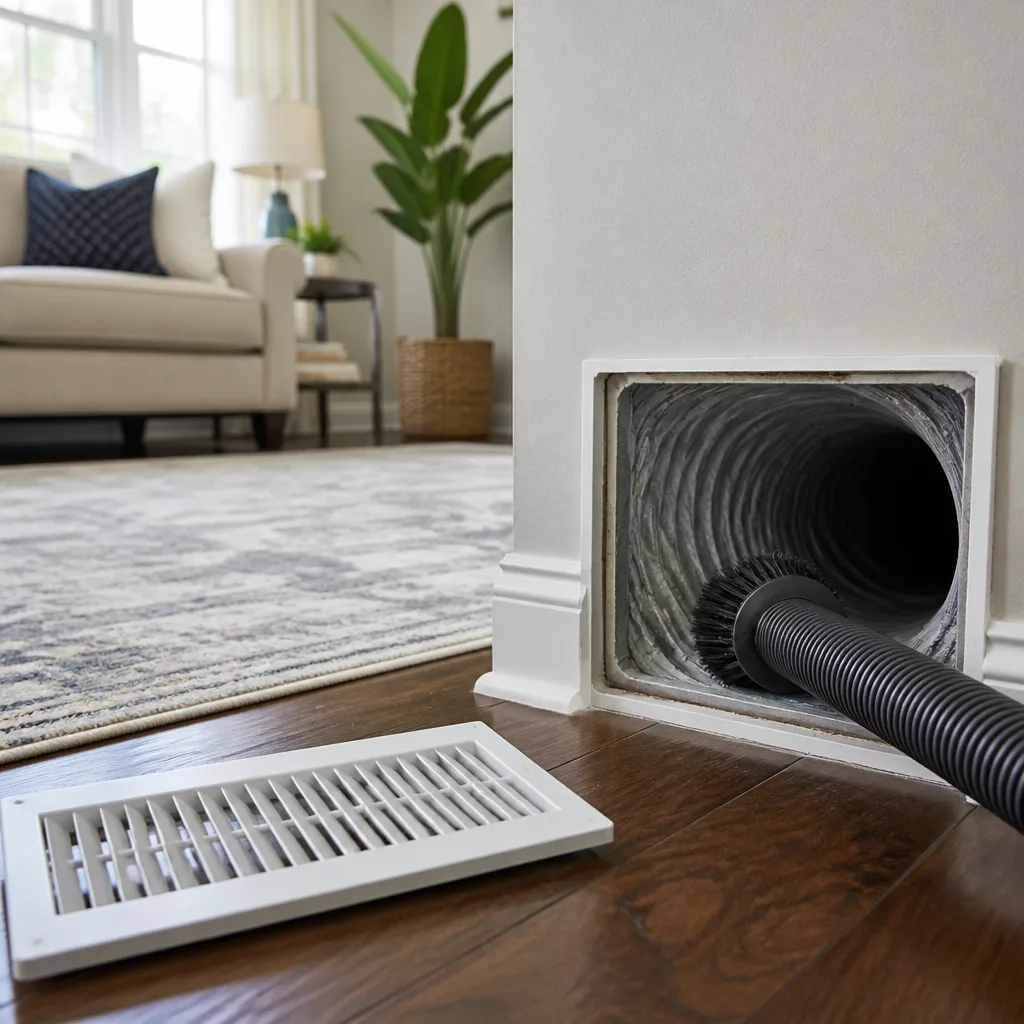 Whole-home duct cleaning
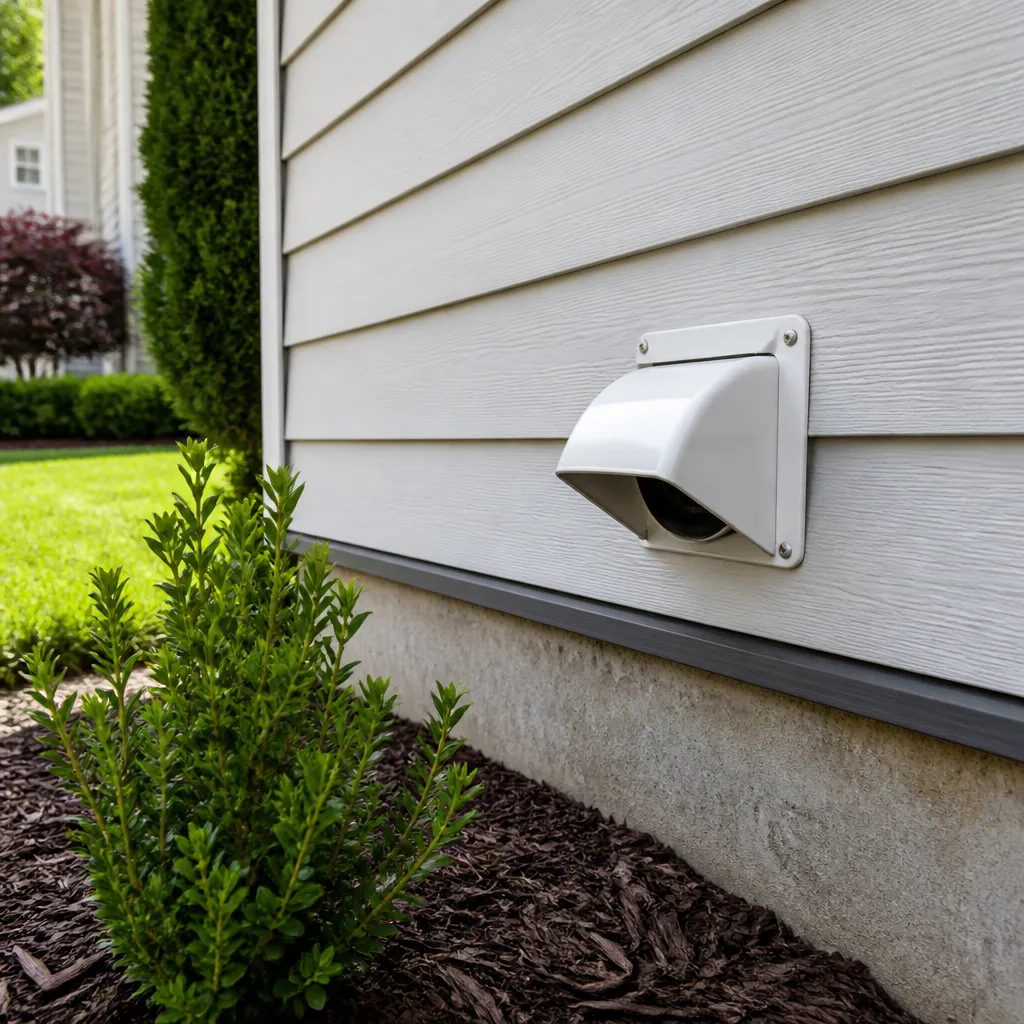 Dryer vent cleaning
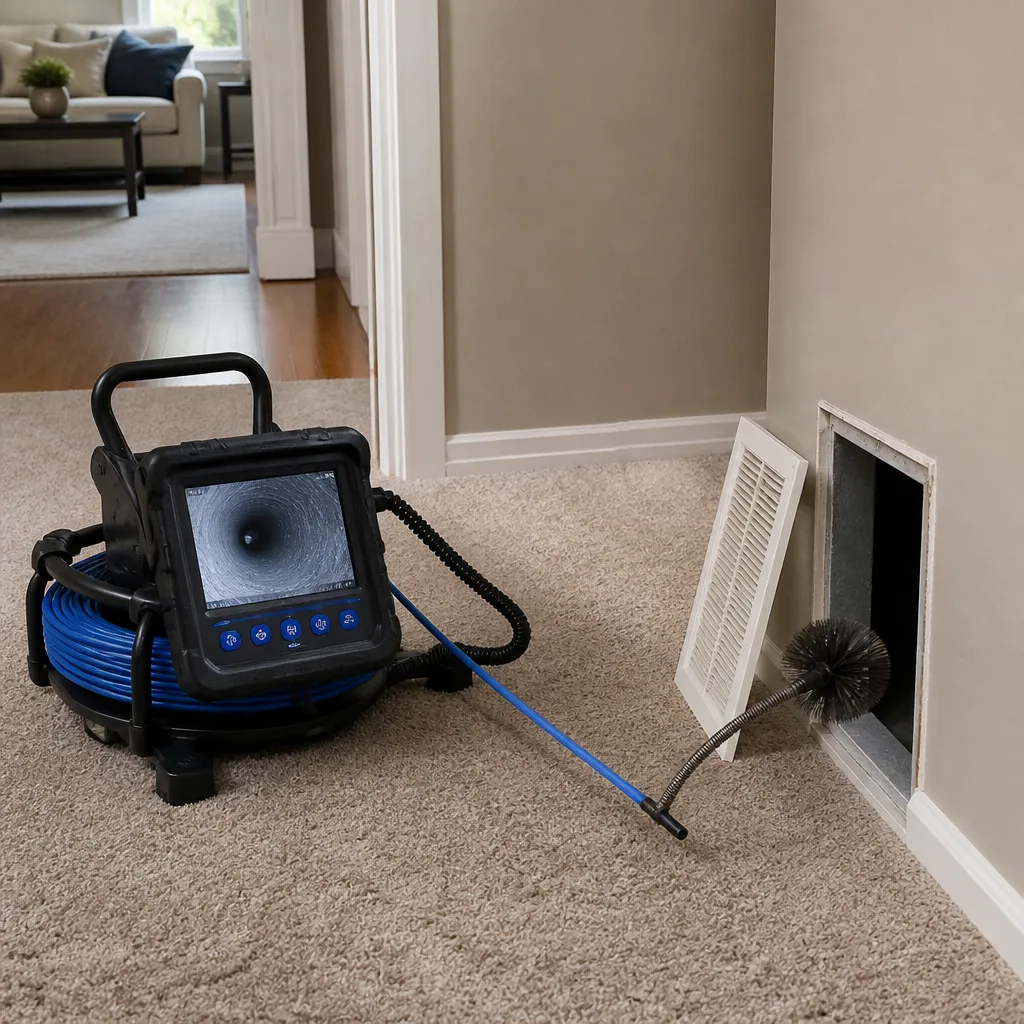 Camera inspection
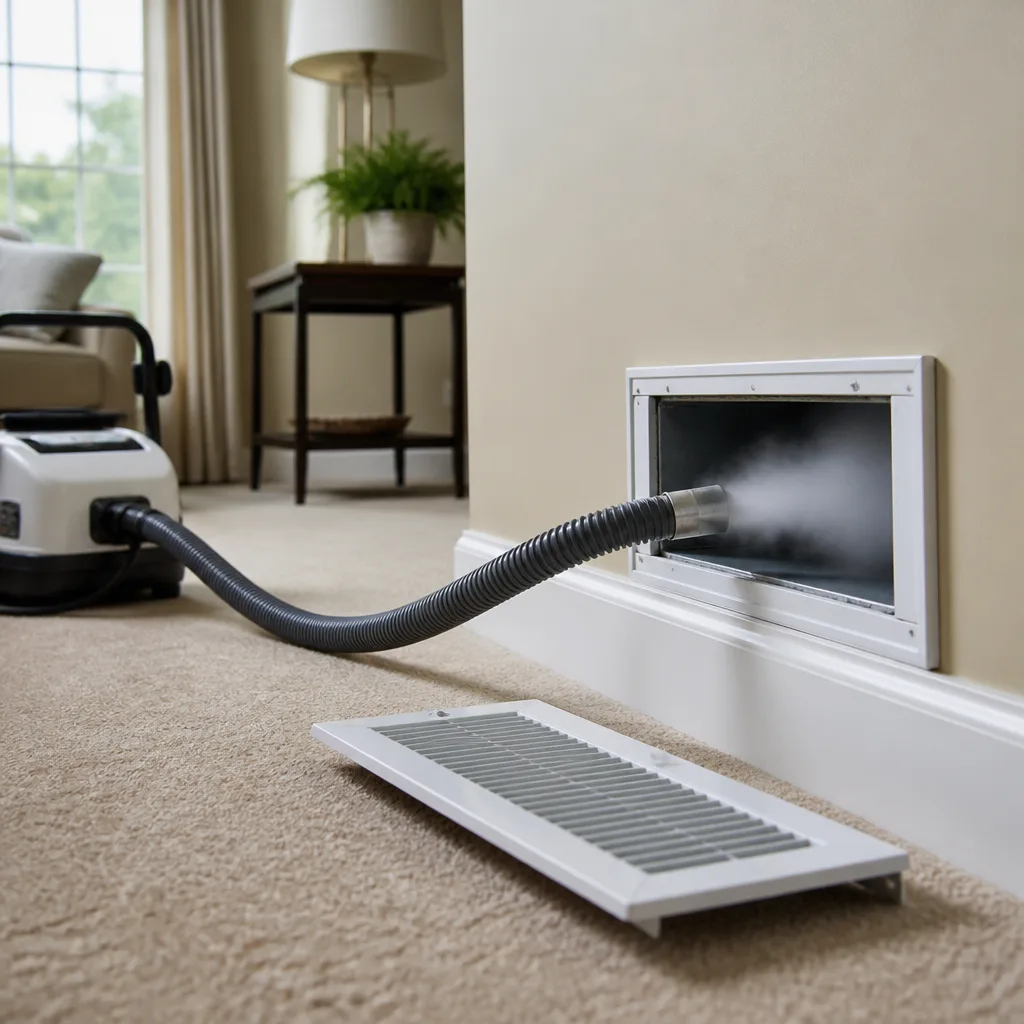 Sanitizing & deodorizing
Whole-system duct and dryer vent check with before-and-after photos - you see exactly what came out of your vents
That "$99 whole-house special" is a bait ad - the real number appears once they are in your hallway, or the "clean" is a shop-vac at the register. We photograph the inside of your ducts before and after instead.
Air Duct Cleaning Warning Signs: A Charleston Homeowner’s Reference Guide
A failing duct system rarely announces itself with a dust cloud. More often the first clue is money: a power bill that creeps up month over month, or a bedroom that can’t get below 76 degrees no matter how low you set the thermostat. In Charleston, that’s the pattern a trained technician recognizes as a duct integrity problem, not an equipment problem, and it’s the kind of signal that gets missed on a visual walk-through. This reference guide catalogs the diagnostic signs that experienced duct technicians actually use to spot a failing system before it turns into a real repair bill. You’ll learn what the smell in your vents is really telling you, how to test airflow with a dollar bill, and how to read the plenum insulation your HVAC installer probably never pointed out to you.
Quick Answer
The most reliable air duct cleaning warning signs in a Charleston home are: persistent musty, dusty, or acrid odors that return after filter changes; visible dust trails at supply registers; uneven room temperatures that don’t match the thermostat setting; an HVAC runtime that has lengthened but isn’t getting the house cooler; and a dryer that now takes two cycles to finish what used to take one. Any single sign is worth investigating. Two or more together usually means duct contamination, leakage, or liner failure that a cleaning and inspection can resolve. Call (888) 274-9947 for a free estimate on a diagnosis.
Styles & brands we work with
- Whole-home duct cleaning
- Dryer vent cleaning
- Camera inspection
- Sanitizing & deodorizing
Table of Contents
- The Smell Taxonomy: What Musty, Dusty, and Acrid Odors Actually Mean
- The Dollar Bill Airflow Test (And What It Reveals)
- Reading Allergy Symptom Patterns Like a Technician
- Inspecting Your Plenum: Healthy vs. Failing Insulation Liner
- HVAC Performance Signals That Point to Ducts, Not Equipment
- Dryer Vent Warning Signs Most Homeowners Miss
- Duct Repair vs. Duct Cleaning: Which Do You Actually Need?
- What a Professional Duct Cleaning Actually Involves
The Smell Taxonomy: What Musty, Dusty, and Acrid Odors Actually Mean
Homeowners describe “weird smells” in the same way for very different problems. Technicians categorize odor into three distinct signals, because each one points to a different failure mode and a different remedy. Learn to classify the smell first, and the rest of the diagnosis gets faster.
Musty odor
Musty ventilation air usually indicates moisture in the duct system with organic growth feeding on the damp surfaces. In Charleston’s long humid season, condensation on cool duct runs is common, and any small leak in the liner or a poorly sealed connection can turn into a sustained moisture problem. Musty smell tells you to look for a source of water first, then treat the contaminated section. Cleaning the ducts without finding the moisture source just buys you a few months before the smell returns.
Dusty odor
A dusty smell on startup is the signature of particulate accumulation. Air sitting in the ductwork between cycles picks up settled dust, and when the system kicks on, that dust gets pushed into the living space all at once. Dusty odor that shows up on every startup, or a fine film you can drag your finger through on the nearest piece of furniture, is a strong indicator that the return side of the system is due for air duct cleaning.
Acrid or hot-plastic odor
This one deserves attention. An acrid smell that resembles hot plastic or burning dust is generally not a particulate problem at all: it usually indicates degrading duct liner material, off-gassing insulation, or an electrical component issue. An acrid odor is a professional-diagnostic-first situation. If it smells electrical, turn the system off and have it inspected. If it smells like aged liner after the system has been running for a while, the liner is likely failing and needs repair.
The Dollar Bill Airflow Test (And What It Reveals)
You can measure duct pressure at your supply registers with nothing more than a dollar bill and thirty seconds. It’s the same principle technicians use with a calibrated instrument, just less precise.
- Turn the HVAC system to fan-on so the blower runs continuously.
- Hold a dollar bill flat against the face of a supply register so it partially covers the grille.
- Watch whether the bill is drawn firmly against the grille, flutters weakly, or sags away.
- Repeat at every register in the house, and note which ones feel strong, weak, or dead.
A bill that sticks hard tells you the register is getting good static pressure. A bill that flutters limply or falls away tells you the register is starved: either the branch run serving it is disconnected, crushed, or leaking badly enough that the air never arrives. When one or two registers in the house are weak while others are strong, that’s almost always a duct integrity problem, not an HVAC blower problem. When every register in the house feels weak, the cause is more likely a blower or filter issue. When every register feels strong but a room stays warm, the issue is usually the room’s envelope, not the ducts.
Do this test once in winter when heating is running, and once in summer when cooling is running. Charleston homes with flexible duct routed through unconditioned attic space tend to show different pressure in each season, and capturing both readings gives a technician much more to work with than a single snapshot.
Reading Allergy Symptom Patterns Like a Technician
An occupant’s symptom pattern is a real diagnostic signal, but only when you read it carefully. “I have allergies” is not information. “I sneeze within ten minutes of lying down in the guest bedroom” is a location and trigger. When we take a history from a homeowner before a diagnostic, we ask three specific questions:
- Time-of-day pattern. Symptoms that worsen at night or early morning often point to a room-specific issue, like a bedroom register serving a poorly sealed return. Symptoms that follow the whole day suggest broader system contamination.
- Room pattern. If symptoms are concentrated in one or two rooms, the ducts serving those rooms are the first suspects. If symptoms follow you everywhere in the house, the return side and main trunk are more likely.
- System pattern. Symptoms that appear only while the HVAC is running, then clear when it’s off, are a duct contamination signal almost by definition. Symptoms that persist regardless of the system are more likely environmental or unrelated to the ducts.
There’s a fourth factor specific to Charleston: the seasonal pollen calendar. An occupant whose “allergy symptoms” track tree pollen season and disappear by summer is reacting to outdoor air. An occupant who reacts year-round, or in summer, when pollen counts are low but humidity in the house is high, is more likely reacting to what’s growing inside the duct system. Comparing symptom patterns to the seasonal calendar turns a vague complaint into a usable diagnostic clue.
Inspecting Your Plenum: Healthy vs. Failing Insulation Liner
The interior of your ductwork is lined with material designed to dampen noise, prevent condensation, and preserve the temperature of the air being delivered. When that liner fails, the liner itself becomes the problem. A homeowner can inspect the accessible sections, usually the supply plenum near the air handler, with a flashlight, and detect the difference between healthy liner and material that needs repair.
Healthy liner looks like this:
- Uniform grey or foil-faced surface with no staining
- Firm to the touch when pressed (through a glove)
- No peeling, flaking, or shedding at seams and transitions
- No condensation or moisture visible on the liner surface
Failing liner looks like this:
- Water staining, especially at the bottom of any run that passes through humid space
- Liner that has separated from the sheet metal and is sagging or collapsed
- Liner showing exposed fiberglass with visible degradation or dust shedding
- Torn or missing sections that expose bare metal, which then sweats and grows contaminants
If you see any of the failing signs, do not run a household duct cleaning brush into the ductwork yourself. Degraded liner can tear free, and the resulting loose material is worse than the original problem. This is the moment to schedule an evaluation. Duct repair is often the right next step, and we repair what we find, so you don’t need to coordinate a separate contractor. If you have a property manager or a whole-house dust concern across several units, this is also the inspection to schedule through a focused specialist trade rather than a general HVAC shop that does duct cleaning as an add-on.
HVAC Performance Signals That Point to Ducts, Not Equipment
HVAC equipment diagnosis and duct diagnosis get confused constantly. When the house isn’t comfortable, the first instinct is to blame the air conditioner or furnace. But three performance signals point directly to duct leakage or blockage rather than equipment failure.
Extended runtime without improved cooling. If the air conditioner is running noticeably longer than it used to but the house is no cooler at the end of the cycle, that’s a sign the equipment is working hard to overcome a duct problem. Leaking supply ducts deliver cool air into the attic or crawlspace instead of the living room, so the equipment runs longer to hit the same setpoint and never quite gets there. Longer runtime means more delivered air lost to leakage, more energy spent, and a system that wears out sooner.
Short cycling. The opposite pattern: the equipment kicks on, satisfies the thermostat quickly, and shuts off within a few minutes, only to repeat shortly after. Short cycling on a system that used to run normally often points to a return-side restriction. The return can’t deliver enough air back to the air handler, so the system cools a small volume quickly and satisfies the thermostat before the whole house is conditioned.
Uneven room temperatures. A difference of two degrees between rooms is normal. A difference of five degrees or more, especially between rooms on the same floor, points to a branch duct that is undersized, crushed, disconnected, or severely leaking. Walk the house with an infrared thermometer or a cheap digital thermometer at the same time of day on two consecutive days, and map the variance. That map is gold for a technician on a diagnostic call.
None of these signals are proof by themselves. Together, they form a picture that points away from the equipment and toward the ducts. A diagnostic can confirm which side of the system is failing and what repair is needed.
Dryer Vent Warning Signs Most Homeowners Miss
The dryer vent is the most overlooked duct system in the house, and the one with the clearest warning signs. We handle dryer vent cleaning as a core service specifically because the signs of a clogged dryer vent are so easy to dismiss as “the dryer is getting old.”
- Clothes take two cycles to dry. If a load that used to finish in one cycle now needs a second, the vent is restricting airflow and the moisture can’t escape efficiently.
- The dryer feels hot to the touch. A dryer that runs noticeably hotter than it used to, especially on the outside cabinet, is usually circulating hot air because it can’t exhaust it.
- Lint visible around the dryer or in the vent hood outside. Lint escaping into the room or clogging the exterior flap is a clear sign the vent is packed.
- A musty smell in the laundry area. Because the dryer vent exhausts humid air, a restriction lets moisture accumulate in the laundry space.
If you notice two or more of these, stop using the dryer until the vent is inspected. A restricted dryer vent is a real safety issue and the vent should be professional-cleaned, not flushed with a consumer kit, which tends to push debris further into the run. This is a slightly different problem from the supply duct issues we covered above, but it’s part of the same airflow health of the house.
Duct Repair vs. Duct Cleaning: Which Do You Actually Need?
Cleaning and repair solve different problems, and knowing which one you need keeps you from paying for the wrong service. Here’s the distinction:
Cleaning addresses accumulated dust, debris, and light surface contamination inside duct runs that are structurally sound. It’s the right call when the liner is intact, the ducts hold pressure, and the problem is buildup. Contact cleaning with rotating brushes and simultaneous HEPA extraction is the process. The equipment tier matters: professional systems like Rotobrush and Nikro HEPA-vacuum rigs are built to capture what they loosen, not just redistribute it into the room.
Repair addresses the duct system itself: disconnected joints, crushed or collapsed runs, torn liner, water-damaged sections, and leaks that let conditioned air escape. Repair is what you need when the diagnostic shows structural failure. Cleaning a leaking duct doesn’t fix the leak, and it doesn’t seal a disconnected joint. We repair what we find, which matters because a contractor who only cleans will hand you a referral slip the moment the inspection finds a real hole.
Most Charleston homes that have the warning signs in this guide need both, in a specific order: a diagnostic first, then a repair of any structural issues, then cleaning of the now-intact ductwork. Skipping straight to cleaning on a system with failed liner or open joints results in paying for a service that doesn’t resolve the underlying cause.
What a Professional Duct Cleaning Actually Involves
The difference between a professional duct cleaning and a cheap one is measurable in the room: professional service contains contaminants instead of recirculating them. Here’s what the process should look like, step by step, so you know what to expect on the day.
- Diagnostic. A technician inspects the accessible ductwork, checks plenum liner condition, tests airflow, and confirms what needs cleaning vs. repair.
- Containment and negative pressure. Abatement Technologies air scrubbers are placed in the work area and the system is put under controlled negative pressure, so loosened particulates are captured at the source rather than blown into the house.
- Contact cleaning. Rotobrush or Nikro equipment is run through each reachable run with simultaneous HEPA extraction, loosening and capturing debris in the same pass.
- Repair of any findings. Disconnected joints, torn liner, and collapsed sections are repaired and sealed in the same engagement rather than deferred to a second contractor.
- Before-and-after documentation. Photos of the duct interior taken before and after service, so the homeowner has a verifiable record of what was done.
If your filter is at the end of its useful life, or the diagnostic shows a filtration gap, this is also the moment to talk about upgrades. We’re familiar with Honeywell and Aprilaire IAQ product lines, which lets us give honest filtration recommendations instead of just handing you a catalog. Cleaner air starts inside the ducts, not just at the filter. A filter upgrade on a dusty duct system just clogs the new filter faster.
Common Mistakes to Avoid
- Trusting a price that arrives before an inspection. Any duct cleaner that quotes a firm number over the phone, without opening a register or looking at the plenum, is quoting a number they can’t stand behind. In Charleston homes with mixed attic and crawlspace routing, the actual work depends entirely on what’s in the ductwork.
- Hiring a “one-price-fits-all” coupon service. The bait-and-switch pattern here is a low coupon price that becomes a much larger invoice once the technician is on site. Ask for a whole-system price in writing before work begins, and be suspicious of any per-vent pricing model.
- Skipping the diagnostic to save time. Cleaning without a diagnostic is how homeowners end up paying twice, once to clean contaminated ductwork, and again to repair the disconnected joint that was the real problem.
- Running a consumer brush kit through aging ducts. A homeowner-grade drill brush can tear loose degraded liner. In Charleston’s humid-season homes, a lot of liner is at the end of its life, and the resulting debris is worse than the original problem.
- Ignoring the dryer vent in the same visit. If the air handler ductwork is dirty, the dryer vent is often in the same condition, and handling both at once is more efficient than scheduling two separate visits.
- Skipping the plenum inspection after a renovation. Any drywall, tile, or cabinet work generates particulate that ends up in the return side of the system. A post-renovation duct cleaning and plenum inspection is worthwhile when the dust from the project seems to keep coming back.
- Trusting a cleaner who offers no photos. A verifiable process includes before-and-after photos of your own ducts. If a contractor won’t document the work, they haven’t done work worth documenting.
See the difference
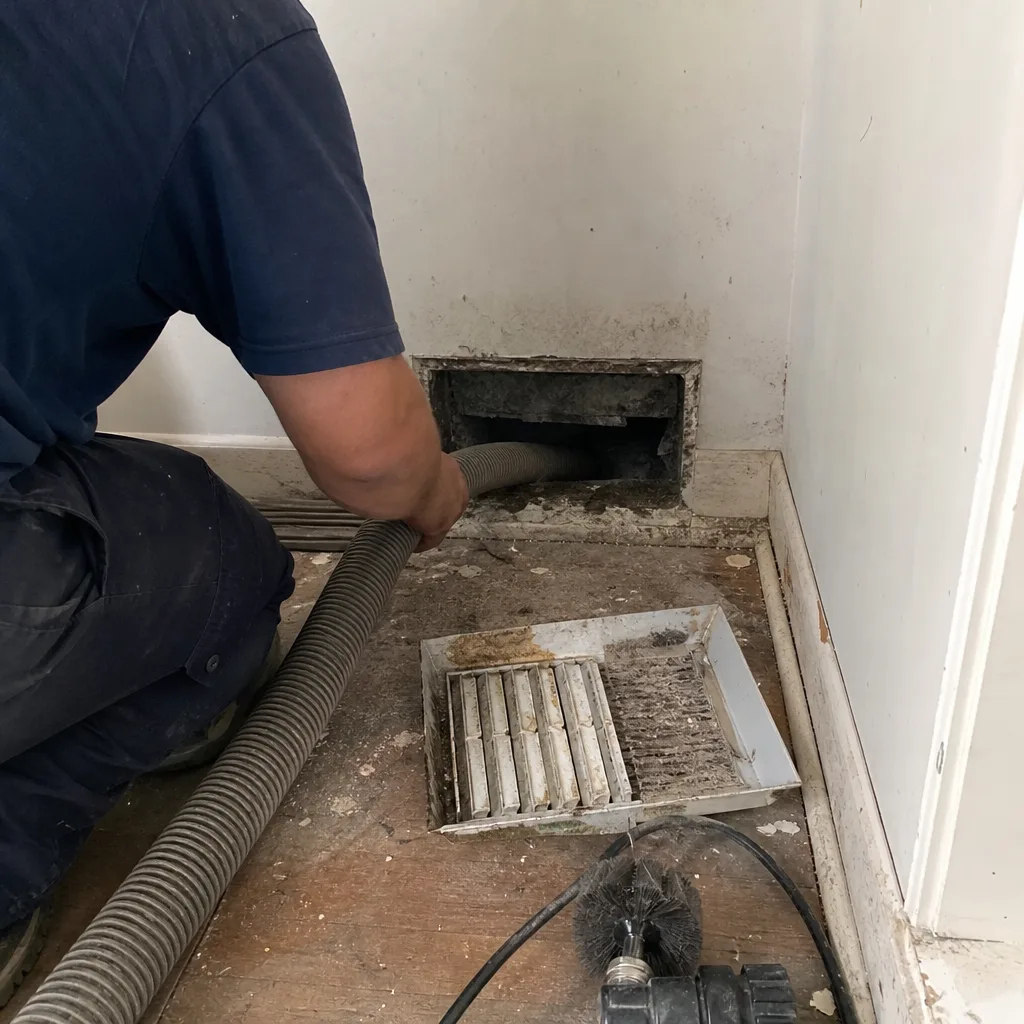 Before
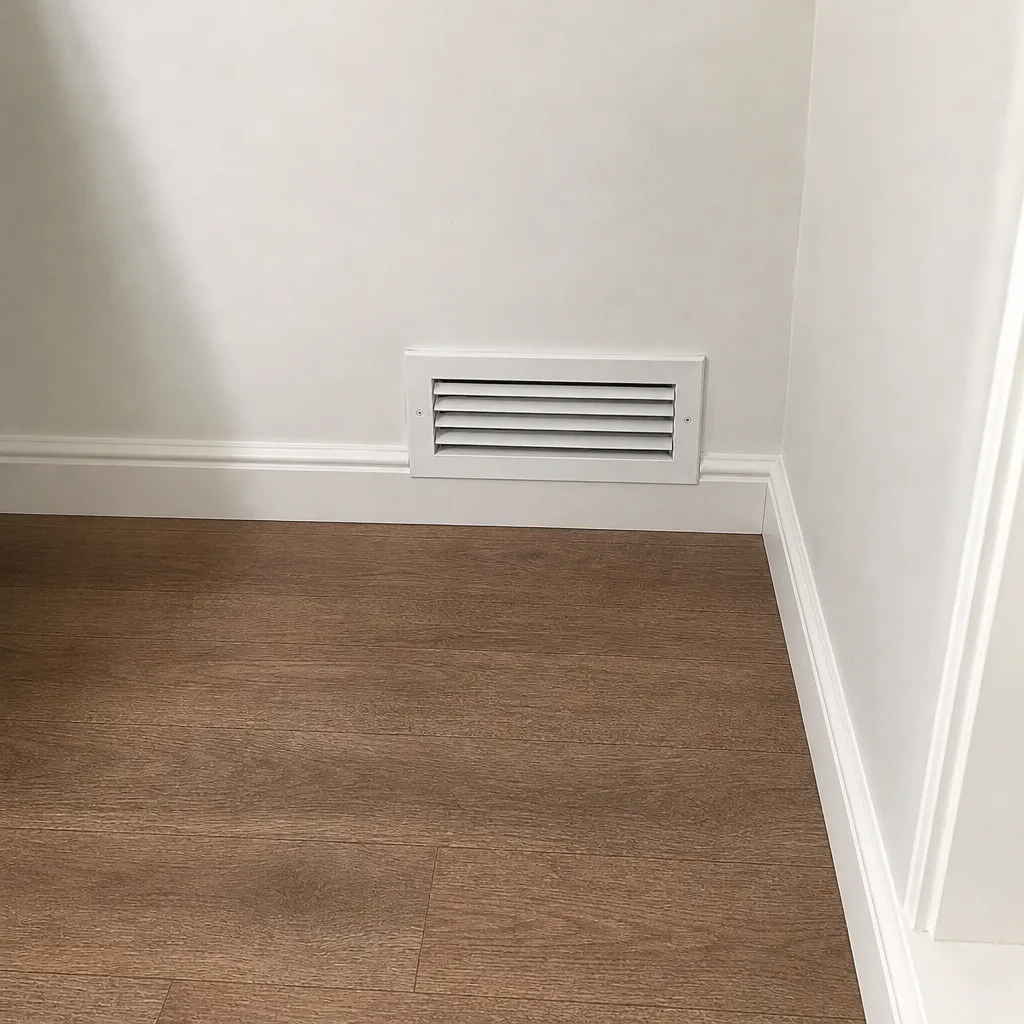 After
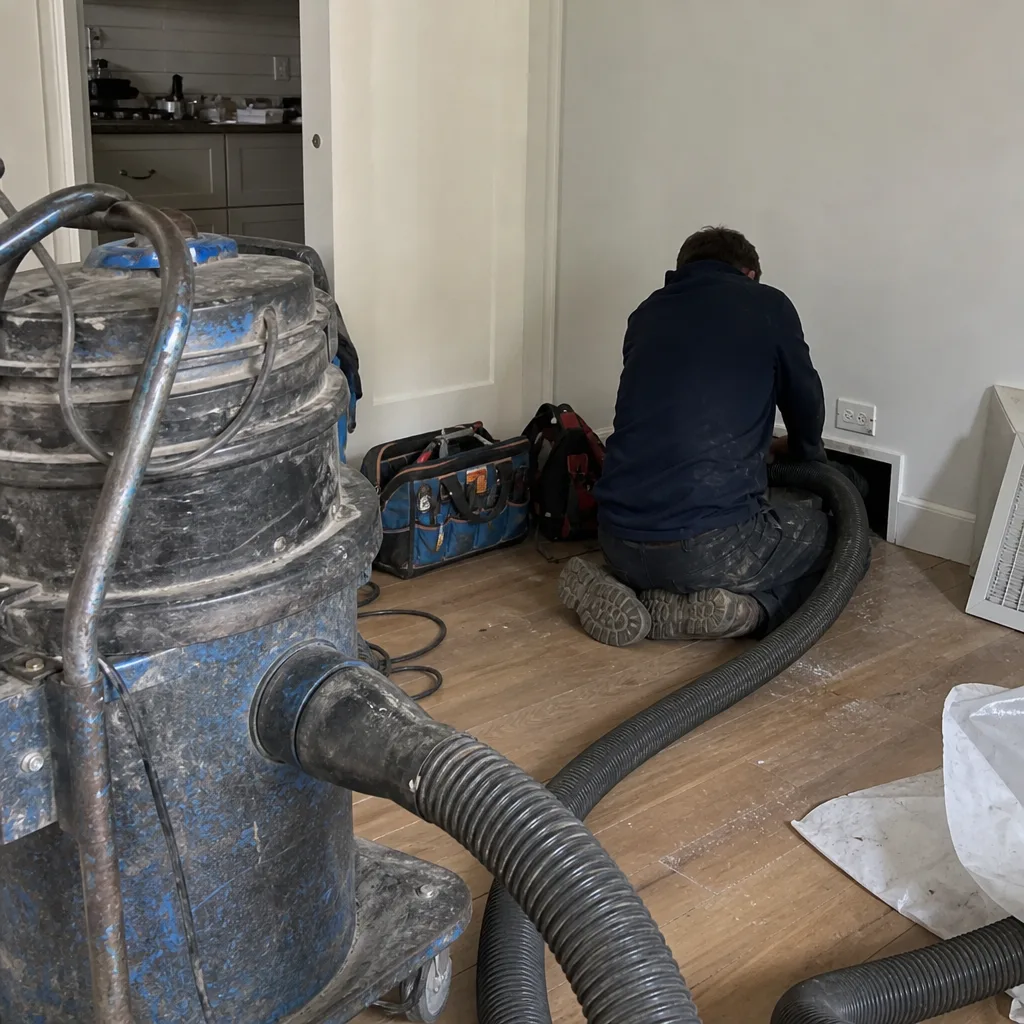 Before
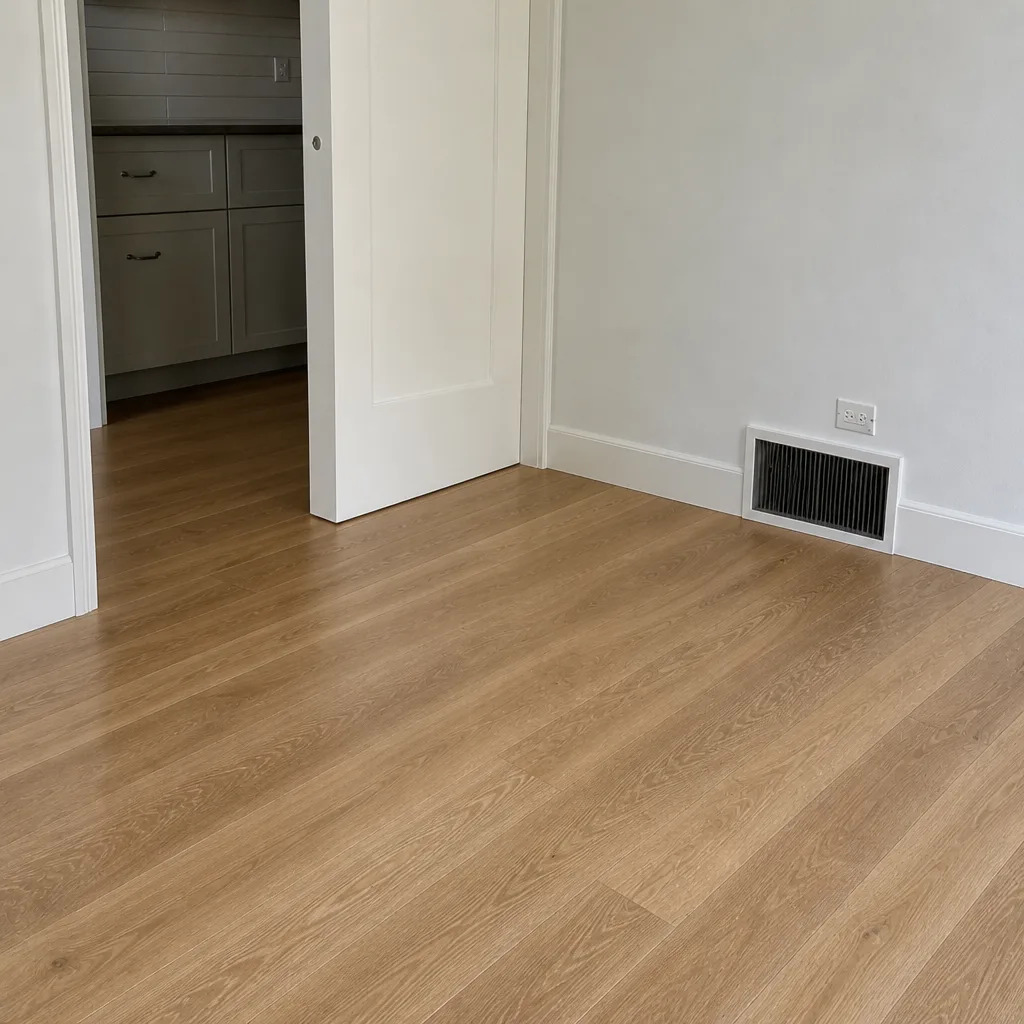 After
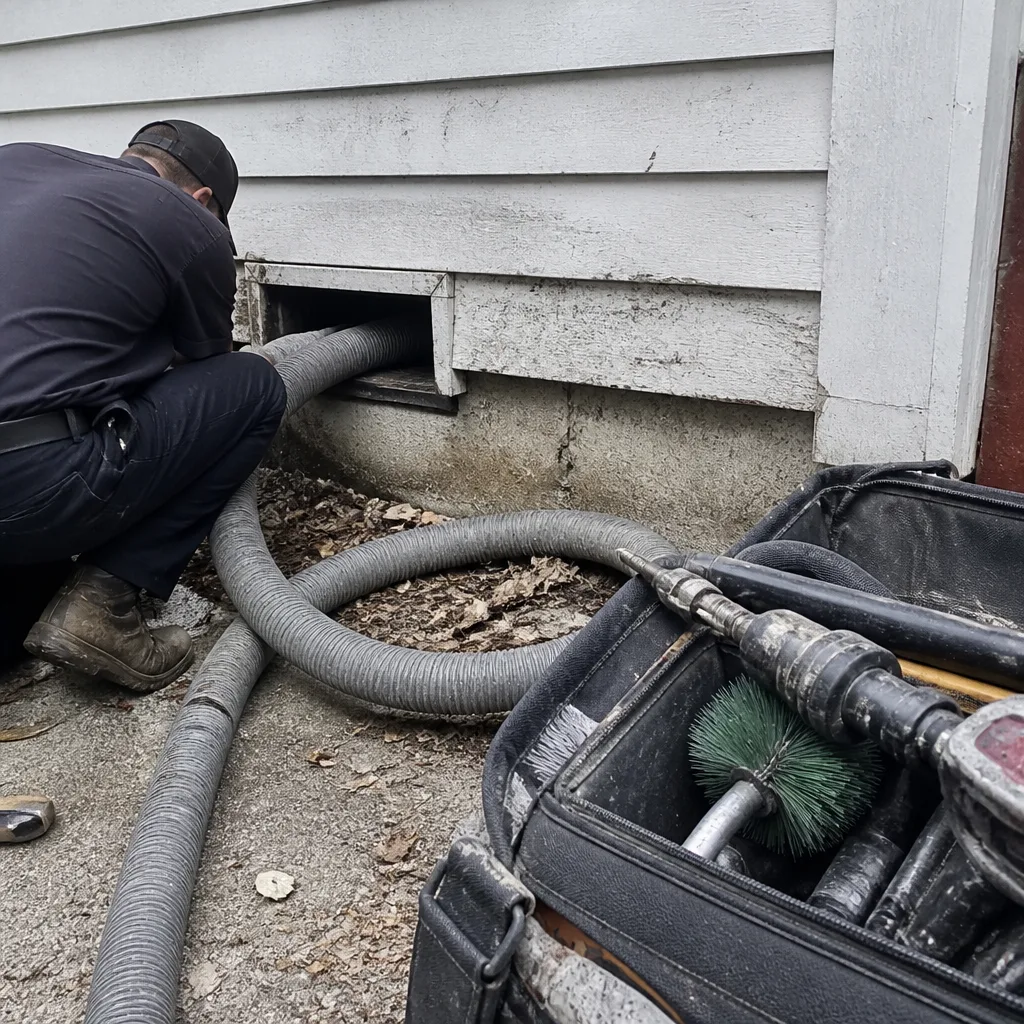 Before
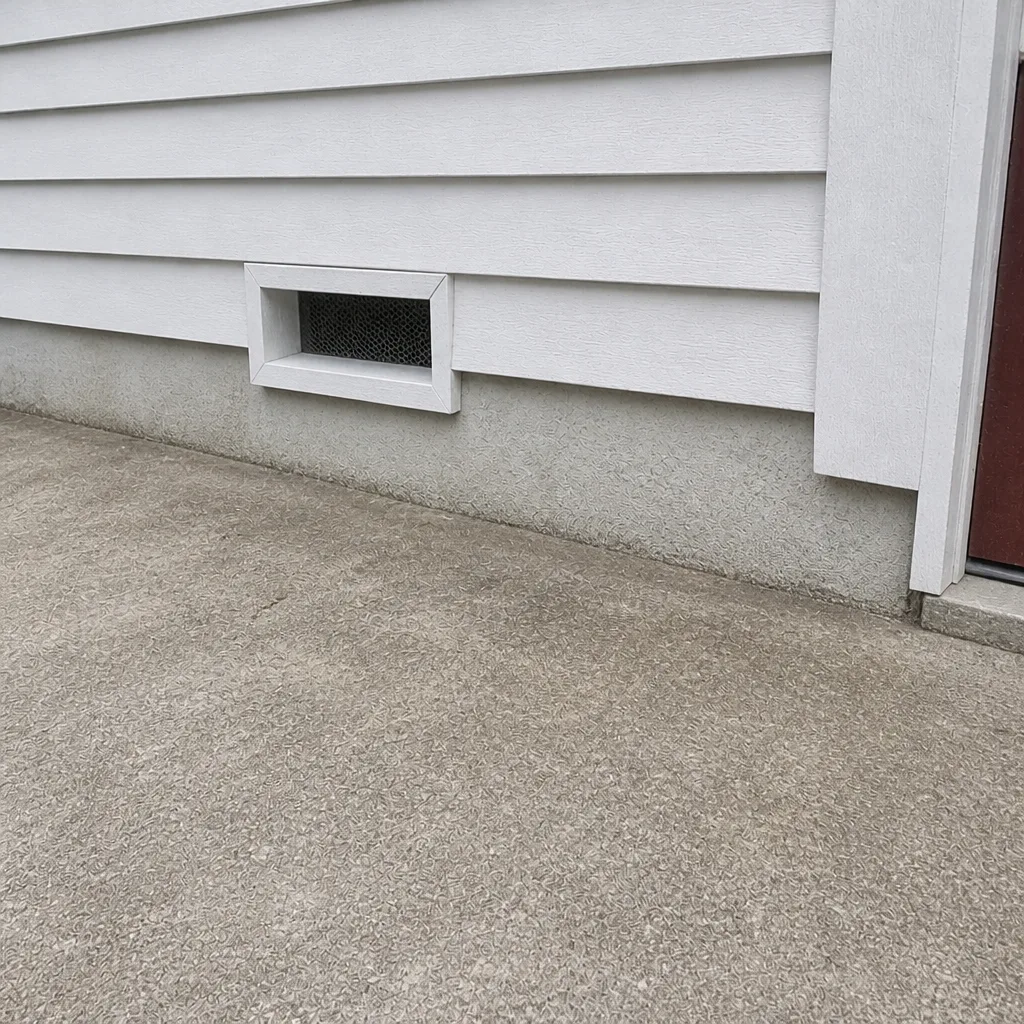 After
When to Call a Professional
You should call a professional duct specialist when you have two or more of the signs in this guide present at the same time, when you notice a musty or acrid smell that returns after a filter change, when your HVAC runtime has lengthened without improving comfort, when your dryer takes two cycles to dry a load, or when you see water staining or collapsed liner during a visual inspection. Single signs are worth investigating with a diagnostic. Multiple signs together point to a real problem that benefits from a professional-grade inspection. Our technicians have up to 15 years of experience reading duct systems in Charleston homes across the peninsula, West Ashley, James Island, and Mount Pleasant, and we use Rotobrush and Nikro equipment with Abatement Technologies containment because that’s the tier of equipment a diagnostic-grade cleaning actually requires. Charleston Duct Cleaning offers free estimates in Charleston. Call (888) 274-9947 for a diagnostic and quote.
Frequently Asked Questions
Professional air duct cleaning in Charleston typically costs for the whole system, priced per job based on system size, duct configuration, and findings from the diagnostic, rather than per vent or per register. The written estimate you receive before work begins sets the final price, and the estimate is free. Call (888) 274-9947 for an exact quote.
Discount quotes are usually much cheaper because they cover a fraction of the work: a surface pass with consumer-grade equipment, no diagnostic, no containment, no verification photos, and often no repair capability if the inspection finds a real problem. The low number is the marketing hook, and the final invoice frequently reflects the work that actually needed to be done. A fair quote covers the whole system and the documented process. Call (888) 274-9947 to see what a whole-system estimate looks like for your home.
You should receive before-and-after photos of your own ductwork interior, taken before and after cleaning. The photos should show recognizable runs of your system, showing the buildup beforehand and the clean surface afterward. Beyond photos, the diagnostic findings should match what the technician told you on arrival. Ask for the documentation before the technician leaves. Call (888) 274-9947 to schedule a service with documented verification.
Most Charleston homes don’t need duct cleaning on a fixed schedule. The right interval depends on the home: recent renovation, visible buildup, allergy symptoms, or a specific warning sign like musty airflow. Homes with pets, older ductwork, or a recent remodel often benefit from cleaning every several years, while homes with newer ductwork and a good filter routine can go much longer. Watch the signs in this guide rather than the calendar. Call (888) 274-9947 if you’re seeing any of them and want a professional opinion.
Duct cleaning alone is not a guaranteed energy-bill fix. The bigger energy driver is duct leakage and failed liner, which need repair, not just cleaning. Cleaning plus repair of leaking joints and collapsed runs is what actually recovers efficiency. Ask for a diagnostic first so the recommendation is grounded in what’s actually failing. Call (888) 274-9947 for a diagnostic and free estimate.
Duct cleaning removes accumulated dust and debris from structurally sound ductwork. Duct repair fixes disconnected joints, torn or collapsed liner, crushed runs, and leaks that let air escape. Most homes with multiple warning signs need both, in the order diagnostic, repair, then clean. Call (888) 274-9947 to have a specialist evaluate which service you actually need.
The Bottom Line
The most valuable diagnostic signals in a duct system are the ones that show up before visible dust does: the smell that won’t go away, the dollar bill that flutters instead of sticking, the room that won’t cool, the dryer that now needs two cycles. Read together, those signals tell you whether the problem is contamination, liner failure, or leakage, and each of those has a different remedy. Cleaning a healthy system is a service. Cleaning a failing system is a delay. Get a diagnostic first, get a written whole-system price with before-and-after photos, and don’t let a coupon determine what happens to your ductwork. Our team at Charleston Duct Cleaning handles dryer vent cleaning, air duct cleaning, and duct repair as one focused specialist trade, and we’re glad to serve homeowners and property managers across Charleston. Call (888) 274-9947 for a free estimate. We answer 24/7. Fast dispatch from 7am to 7pm, Sunday through Friday.
Learn more about our work at Charleston Duct Cleaning.
Written by the team at Charleston Duct Cleaning.